GoPro Studio is a simple to use yet extremely powerful video editor for your GoPro footage. If your new to the GoPro world or a seasoned professional, GoPro studio is one of the must-have video editing apps in your arsenal. The best part it is free and can be downloaded from the GoPro website.
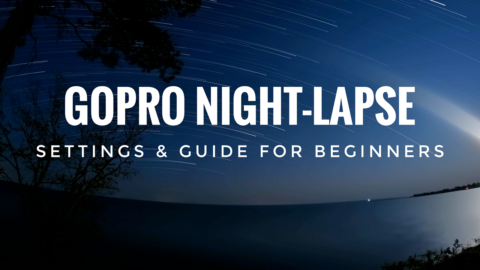
In this video tutorial, I go over all the steps needed to add panning and zoom motion effects to your GoPro time-lapse. With GoPro Studio, you can easily add pan, tilt, zoom and slide motions to your existing time lapses easily with profession results using built-in keyframes. Keyframe editing is easy and can be used to apply many different effects including motion and fades. Once mastered it can help you create epic time lapses that are visually pleasing and stand out.
How To Add Motion With Key-Frames Using GoPro Studio.
Step 1: Launch GoPro Studio and load your time-lapse sequence. This can be either a time-lapse shot in video mode or photo mode.
Step 2: Like all GoPro footage it needs to be converted to an editable format. Under advanced settings at the bottom, you can set your conversion parameters, it is important to keep the image size at ‘Source”. Zooming and panning require the highest quality possible.
Step 3: Add your time-lapse sequence to the conversion list and convert your file. When done proceed to step 2 at the top of the GoPro Studio interface.
Step 4: Load a blank project when you get to step 2 in GoPro Studio, drag your time-lapse to the editing timeline.
Step 5: With your scrubber bar one the first frame, go to the framing controls on the right side of the page and click on the + to add a keyframe. Now move the scrub bar to the last frame of your clip and repeat by adding a new keyframe at the end as well.
Step 6: At this point, you have to decide what types of motion you want to add. You can pan and zoom or a combination of both. To achieve this, simply select one of the keyframes we just created and using the framing controls on the right-hand side of the page, re-frame your image to either where you want to start or were to end.
Step 7: At this point, you can preview your newly created time-lapse motion effect by selecting the play button. You can adjust the movement as needed. When you are happy with the results, click on step 3 at the top and export your new time-lapse.
If you are new to GoPro Studio, you can watch the step by step video I posted above, It is easy to follow and once you have mastered adding motion to your time lapses you will be able to take them to a whole new level.

