In this review, we are taking a closer look at the PolarPro Iris ND filter for iPhone. You may be wondering what an ND filter is and why you would want to use them with your iPhone. Well, first let’s talk about what they are and then why you would use them. I want to first say that iPhone’s do a great job capturing video and for the most part you really don’t need ND filters for everyday videos you may capture like the kids playing or maybe you cat acting crazy.
What is an ND Filter? And why do I need one?
In its simplest terms, an ND filter is like a pair of sunglasses for your camera lens and it allows you to set the appropriate shutter speed on your camera without it being too overexposed. Early on in filmmaking, it was discovered that there should be a slight amount of motion blur in your videos when filming things with movement. This replicates natural vision and makes it more comfortable and pleasing to the eye. To achieve the perfect amount of motion blur in videos there is something called the 180-degree rule which basically states that your shutters speed should be double your frame rate to achieve this. For example, if you are filming at 30 FPS your shutter speed should be 1/60th of a second. If you are filming at 60 FPS your shutter speed should be 1/120th of a second. Now, this can be hard to achieve on point and shoot devices like our iPhone’s, GoPro’s and consumer drones. This is due to the fixed aperture, we can’t adjust the amount of light coming in (how big the hole is that lets light in). What ends up happening is if we lower the shutter speed to 1/60th of a second, everything is blown out and way overexposed. This is where the ND filter (sunglasses) comes in. We place it over the lens and then when we lower the shutter speed it is exposed correctly. ND filters can come in many strengths the most common are ND8, ND16, ND32, and ND64. The one you use would depend on how bright the sun is. On an overcast day, you may only need an ND8, on an extremely bright day you may need an ND64. This is usually trial and error. You may have to try a few filters to get the right one.
We see more and more that amateur photographers and even professionals end up grabbing B-Roll footage with their smartphones, after all, we always have them with us. Even vloggers tend to use their iPhone’s to capture their latest vlog. So this is where having ND filters for your iPhone can be important. It helps the footage captured blend in better with footage that you captured following the 180-degree rule with your other devices such as mirror-less and DLSR cameras or perhaps your drone.
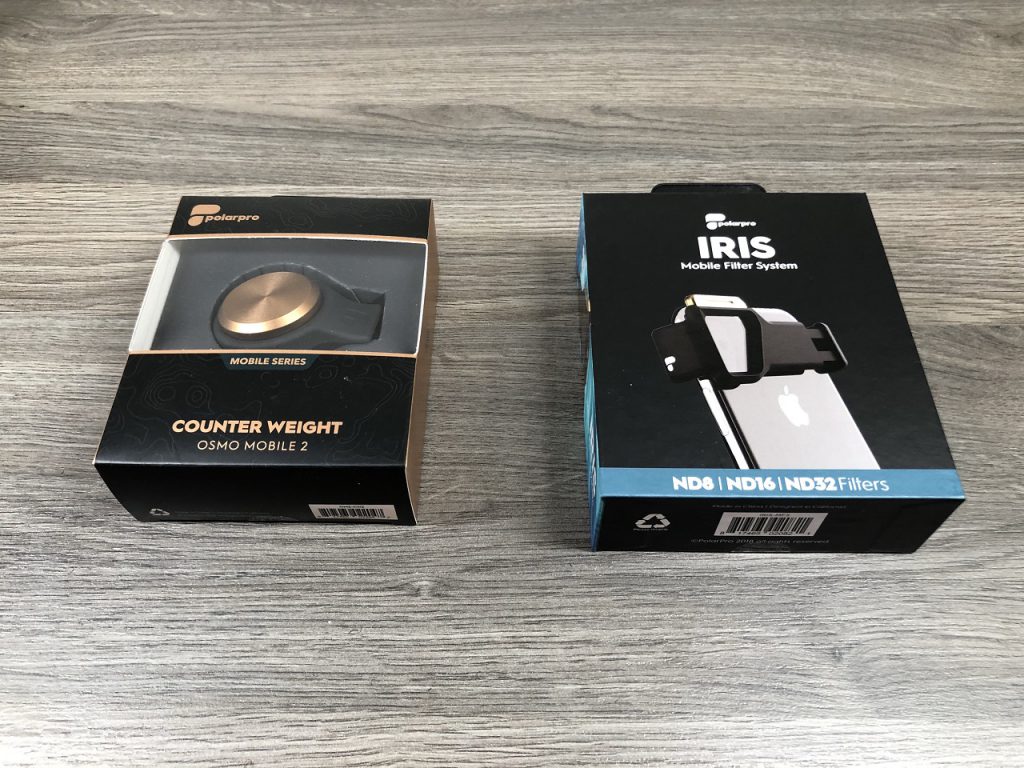
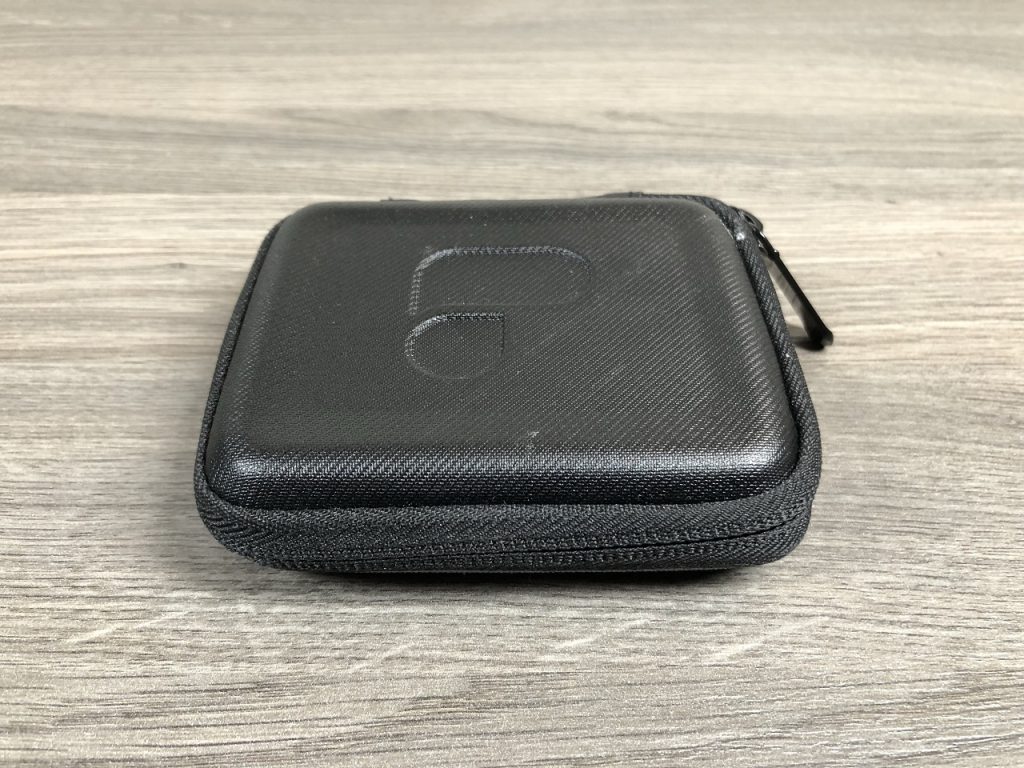
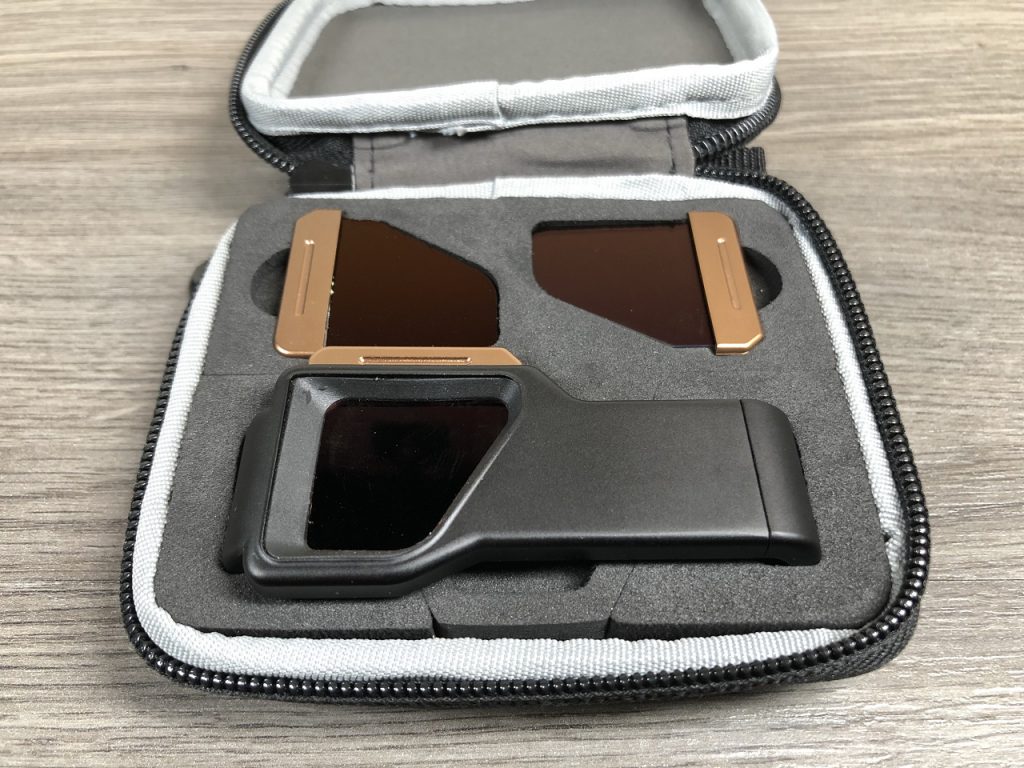
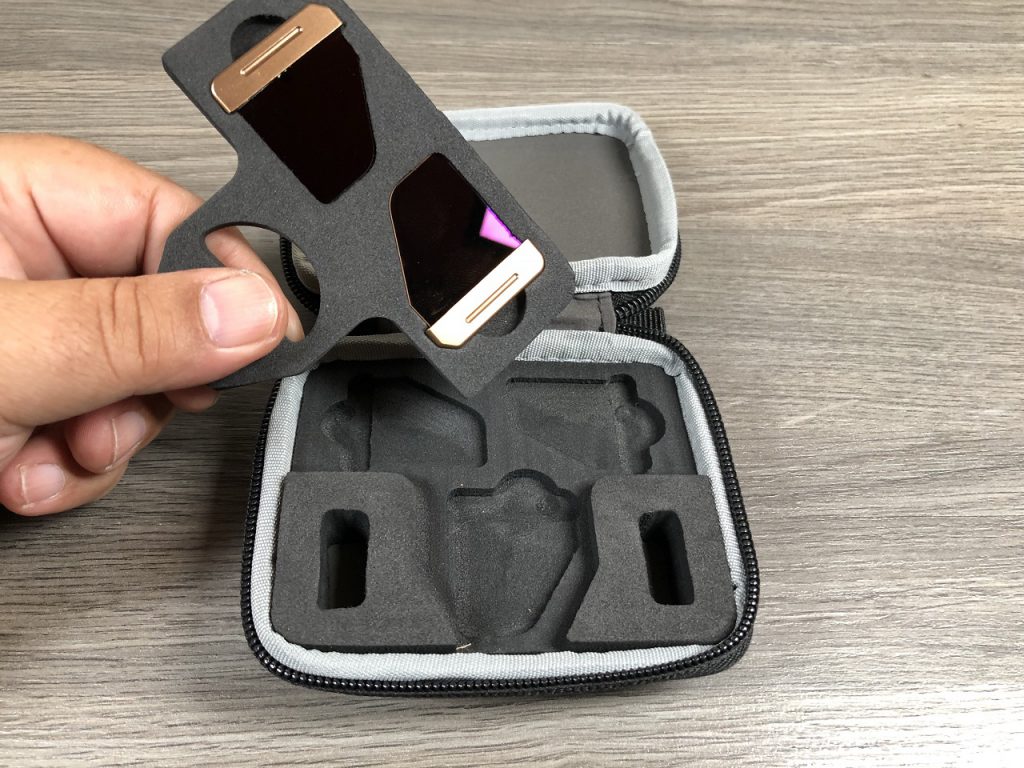
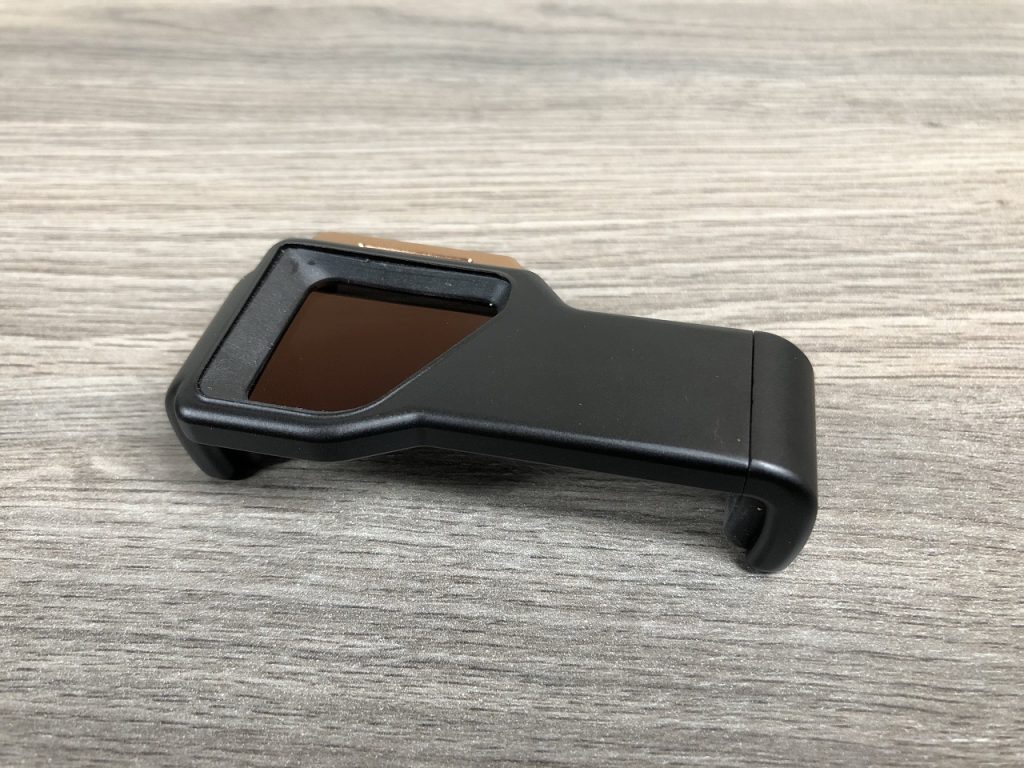
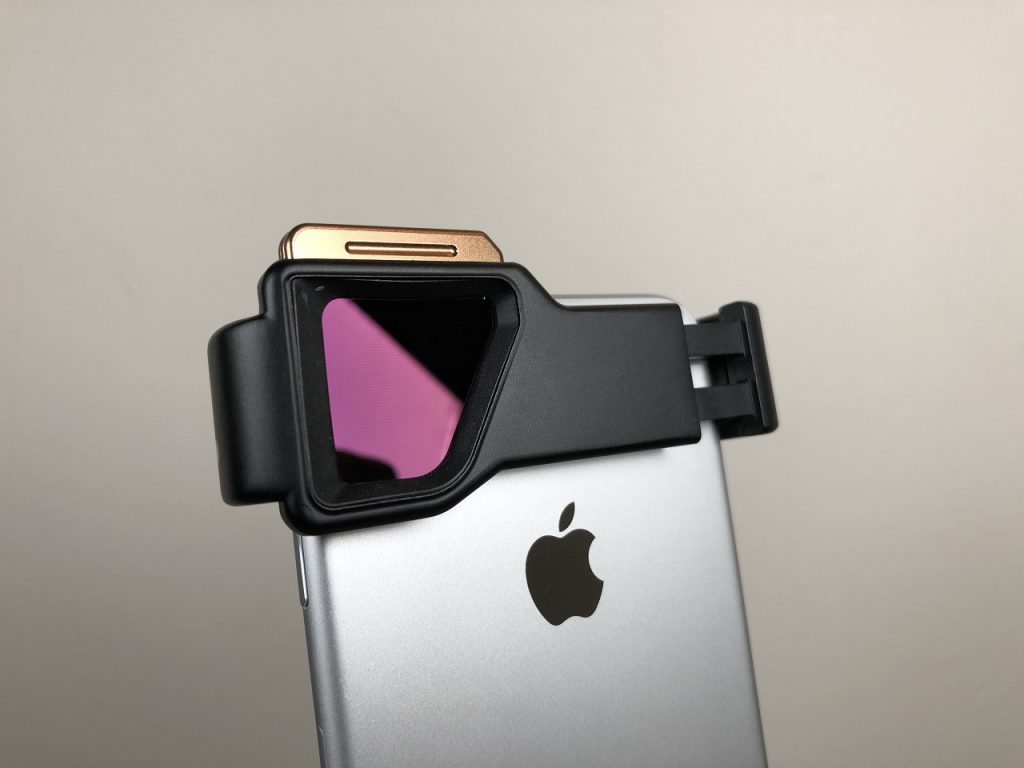
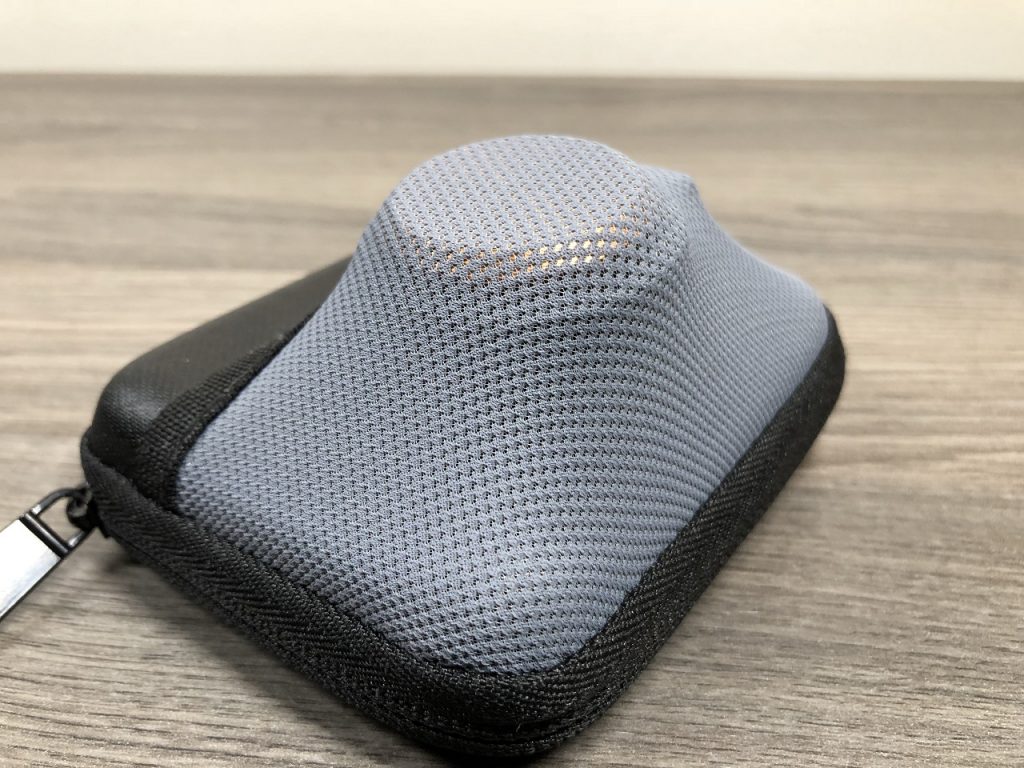
PolarPro has developed a nice ND filter system for your iPhone and works with the iPhone 6/6 Plus, iPhone 7/7 Plus, iPhone 8/8 Plus and iPhone X. It even works with the Google Pixel 2/2XL phones. When you purchase the starter set it comes packaged with a nice case, a mount and 3 ND filters (ND8, ND16, ND32). Installation is quick an easy and you can swap out ND filters on the fly without having to remove the mount. PolarPro has been manufacturing ND filters for many devices for a long time and they are top quality, I would have to say in my opinion one of the best. The PolarPro Iris ND filters allow you to lower your shutter speed on bright sunny days to achieve that nice motion blur that is associated with cinematic footage.
Now if you are shooting on really bright days you may want to pick up the expansion pack. The expansion pack contains an ND64, ND128, and an ND256. The higher ones work best for motion photography but the ND64 is very crucial on blinding sunny days. Last week I was at the beach and I had to use the ND64 to get the correct shutter speed on my iPhone 8 Plus. The case that comes with the starter set has a removable foam tray that reveals 3 empty slots to store the expansion pack as well.
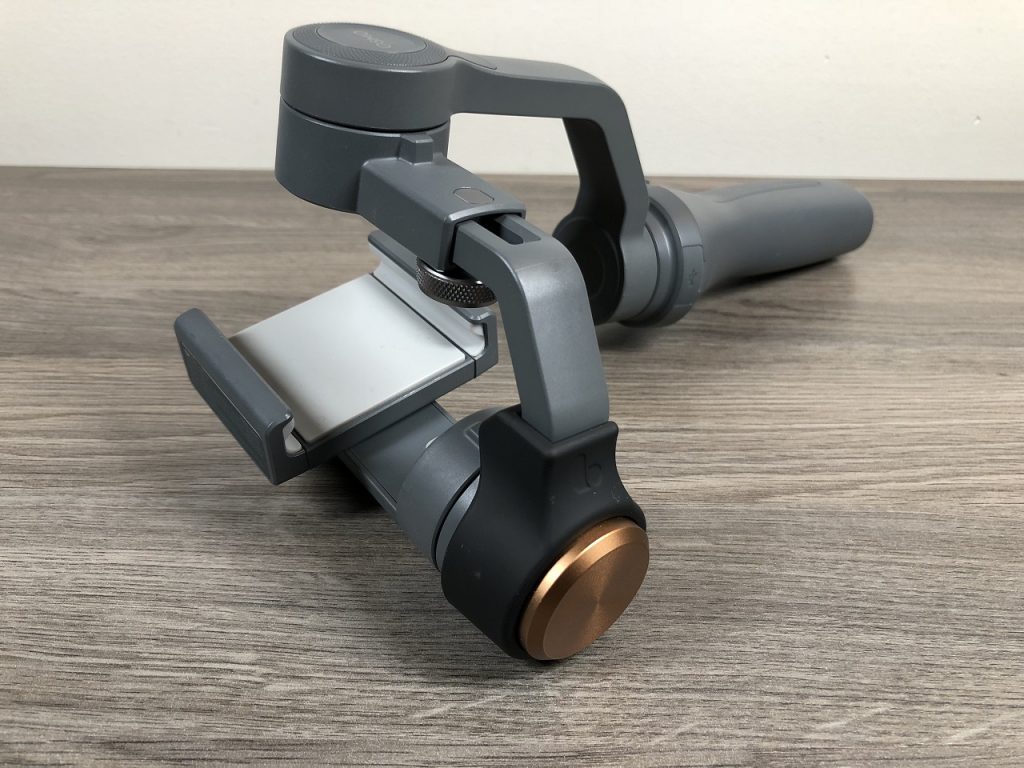
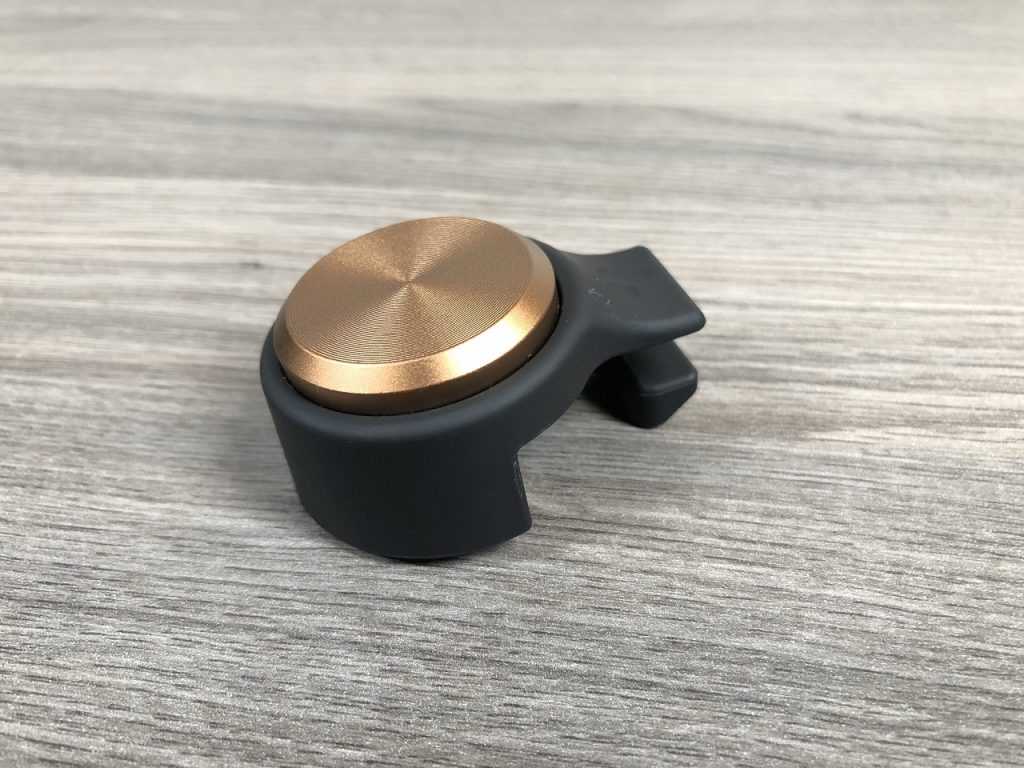
You can use the PolarPro Iris ND filters while just holding your phone in your hand. However, if you wish to mount your phone in something like the Osmo Mobile or Osmo Mobile 2 to capture nice smooth footage you will need to pick up a counterweight as the Iris ND filters will throw off the balance. PolarPro has release two counterweights for the Osmo Mobile and Osmo Mobile 2. You will also need some type of camera app that allows you to manually adjust your shutter speed such Filmic Pro. The stock camera on the iPhone does not have this option.
The only negative thing I have to say and it is very minor is that when the ND filters are being stored in the case, the number is facing down and you can not tell which filter is which. The cut-outs should have been the other way around so you can see the numbers easily at a glance.
All in all the PolarPro Iris ND filter set for Smart Phones are a great investment for both amateurs and professionals looking for a viable way to capture stunning cinematic footage with the proper amount of motion blur.
Iris Starter Set: https://amzn.to/2vQ0TSp
Iris Expansion Pack: https://amzn.to/2KYiT1N
Osmo Mobil Counterweight: https://amzn.to/2vOYU0Z
Osmo Mobile 2 Counterweight: https://amzn.to/2MTSvYC
Osmo Mobile 2: https://amzn.to/2MAWSv3