The GoPro Quik app to me has to be one of the best video editors for your smartphone or tablet. It’s powerful yet easy to use even if you have no editing experience. The magic of GoPro Quik is its ability to do all the editing for you with little direction from you. You can make and really cool edit from start to finish in less than a minute if you let GoPro Quik do the work or you can go in and fine tune some of the clips yourself is you choose. In this tutorial, I will show you how to easily add slow motion effects to your clips in the GoPro Quik mobile app. This tutorial is for existing edits that have already been created. I will have a tutorial soon that will show you how to use the Quik App from start to finish.
Step 1: Launch the quick app and open an existing edit or create a new one.
Step 2: From the preview screen click on the clips button at the bottom of the screen.

Step 3: At this point, the Quik app will show you all the clips that are currently in your edit. Click on the thumbnail of the clip you would like to add the slow motion effect.
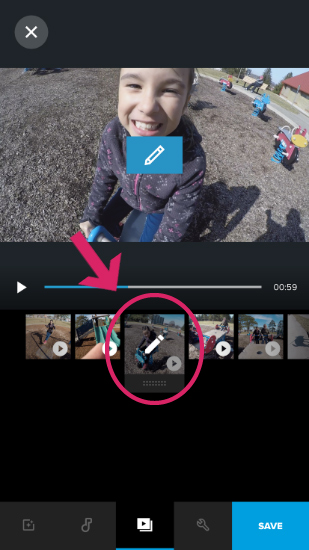
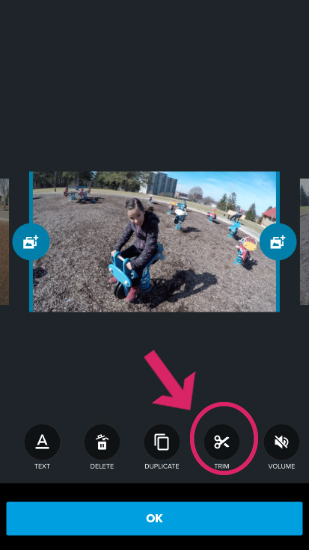
Step 4: A larger preview of the clip will appear, now at the bottom click on the scissor icon that is labeled trim. Processed to next step.
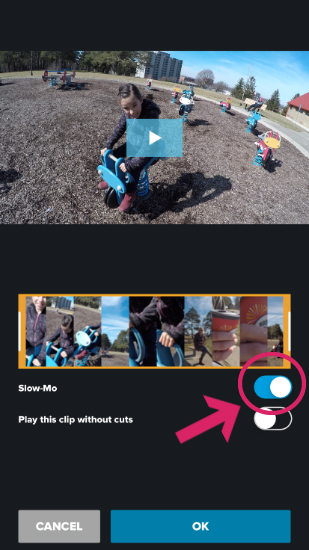
Step 5: On this screen, set the toggle labeled “Slow Motion” to on. When done click to OK button. At this point, you can now preview the clip to see how it looks in slow motion.
Step 6: If you are happy with the way it looks you can now go ahead and save the project. Export and share and you’re done!
That is it, it’s just that easy, but its Quik everything about it is designed to be easy. Stay tuned for more GoPro Quik tutorials for both the mobile app and desktop app coming soon.